Documentation
Cookbook: Setting up WordPress
Setting up WordPress with Cherokee is really easy. This recipe describes the WordPress 3.0.5 installation, which is the latest release at the time of writing.
There are two ways of installing WordPress: it can either be installed as a new virtual server or be installed inside a directory of some of the virtual servers that already exist. We will be documenting the first scenario, as it is the most widely used.
You will need PHP support correctly configured in Cherokee, and PHP with the MySQL module installed. The default configuration already provides a valid PHP configuration for Cherokee if you have php-cgi installed, but you can follow the appropriate recipe about setting up PHP in case you don’t have it available for some reason.
Under these conditions, you could start WordPress’s installation and you would already be able to have your site up and running.
However, we can add several refinements to Cherokee’s setting. Mainly:
-
Forward all requests for www.example.net (or whatever domain is resolved to our machine) to example.net
-
Set up an appropriate url rewrite configuration for WordPress, so you can enable permalinks.
-
Serve directly as static content some specific file types and directories, avoiding any other file requests and eliminating this way any security risk related to vulnerable archives.
Setting up WordPress as a new Virtual Server
Default virtual server
We’re assuming we have the default configuration initially provided by Cherokee Admin.
We will begin by cloning the default virtual server, just to keep the default PHP configuration. Create a clone named example.net.
Then, we’ll delete every erasable rule in the default virtual server since we are going to use it to redirect every petition not matched by the example.net virtual server. We will set the remaining one to be managed by the Redirection handler, like this:
| Type | Regular Expression | Redirection |
|---|---|---|
External |
^(.*)$ |
This clears the first milestone. The remaining ones will be accomplished by tweaking the example.net virtual server.
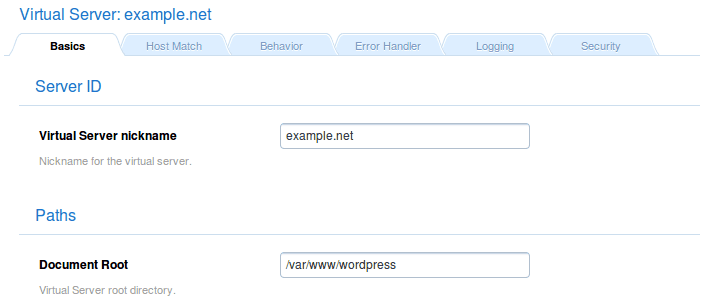
example.net
Remember to set up the Document root to /var/www/wordpress.
Custom document root
Delete all the rules except php and Default. We’re heading right to the second milestone now.
As previously, we will manage the Default rule with the redirection handler.
| Type | Regular Expression | Redirection |
|---|---|---|
Internal |
^/(.*)$ |
/index.php |
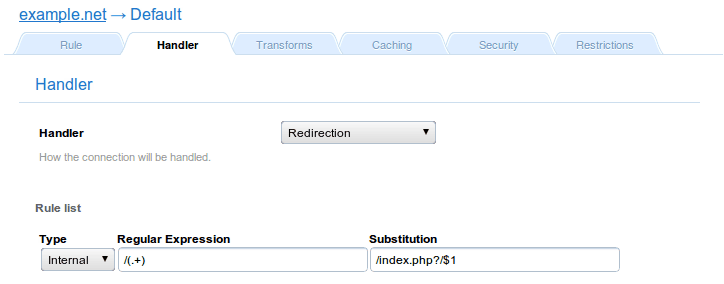
Redirection handler
After this, most of the redirections will work. We’ll set some more rules to fine tune the rest of WordPress' features. Those will be Directory type rules for the following directories: wp-includes, wp-content and wp-admin. These are to be managed with the List & Send handler.
The third milestone, directly serving static files, is an easy task to accomplish. This step is not required by WordPress, but we will be treating as static the contents of a couple of directories and the sitemap files generated by our Google XML Sitemaps plugin of choice.
To do this, we will be creating Directory type rules for the images and static directory, and a Regular Expression type rule for the sitemap.
| Type | Value |
|---|---|
Directory |
/images |
Directory |
/static |
Regular Expression |
/sitemap.xml.* |
Remeber to manage them with a handler that can serve files: Static content and List & Send.
Almost any evaluation order of your rules will suffice, as long as the one that handles the PHP files is the first one.
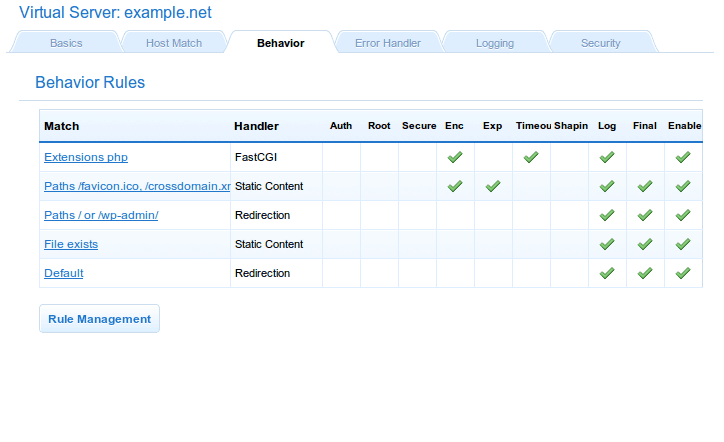
Rule list
WARNING
Beware of the long time WordPress can need to get through the installation. It doesn’t seem to be an issue currently, but in the past it has been known to exceed the timeout that Cherokee uses as default, and while this will still sometimes allow for a complete installation, it will most probably cause a failure while delivering the last page of the process.
If you encounter this problem and absolutely need to see the last screen, please increase your server’s timeout value, under the Basic Behavior paragraph of the General tab, and start over.
If you are going to attempt to make an installation as is, with no reconfiguration of Cherokee whatsoever, you can skip right to the section Setting up WordPress.
WARNING
Beware of another possible break point. The last step in the installation of WordPress used to involve mailing the details of the new account to the provided email. Normally the process will be painless: if the system is running an MTA, this report will be sent. If not, it will simply skip this step. In both cases the information will also be displayed on screen. However, there is a corner case that might make your installation fail with old WordPress versions: if the server is running a broken MTA, this could make PHP fail when trying to deliver the email, in turn resulting in a failure during the installation, and making Cherokee report an Error 500. Having a broken MTA on a production server is a very unlikely scenario, but double check your MTA in case you receive this error.
Setting up WordPress
First download and uncompress the distributed WordPress release into /var/www/wordpress, and create a database suitable for the installation.
Log in to MySQL:
mysql -u root -p
And create the database for WordPress. We will be using the name wp, the user wpuser and the password wppassword, but you should set up your own.
CREATE DATABASE wp;
GRANT ALL PRIVILEGES ON wp.* TO wpuser@localhost IDENTIFIED BY 'wppassword';
GRANT ALL PRIVILEGES ON wp.* TO [email protected] IDENTIFIED BY 'wppassword';
FLUSH PRIVILEGES;
quit;
Then point your web browser to http://localhost and follow the instructions provided by the installer.
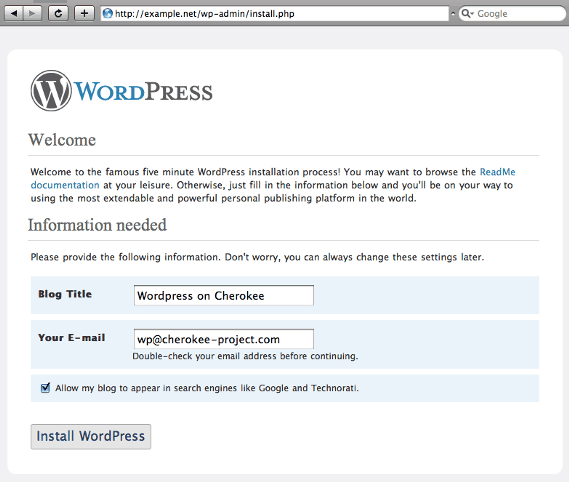
WordPress installation site info
And the installation will be automatic. Just fill up the requested values and you will obtain the following results once your are through.
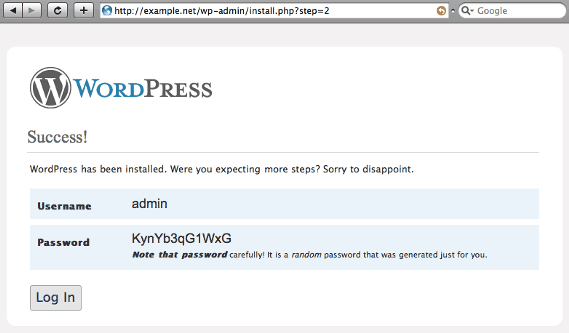
WordPress installation administrator info
With that, you are done installing. Let’s log in and make the last adjustments.
WordPress login
Once we’re logged, we can configure the way permalinks are displayed. Just use the Settings→Permalinks menu, and adjust the way the links are to be rewritten.
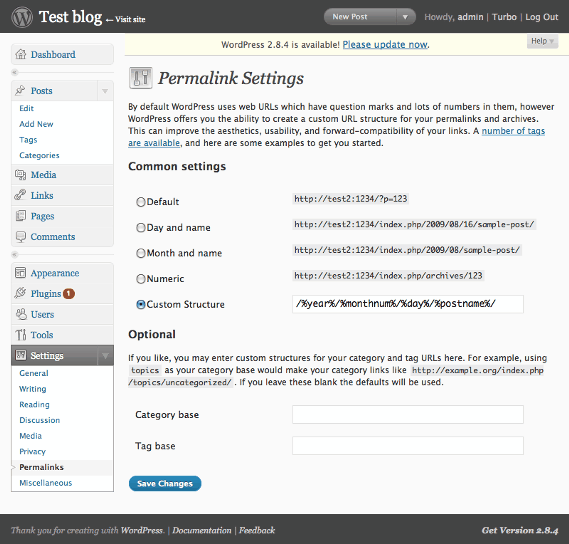
Permalinks
Remember to set up the plugins that are of interest for you, such as the sitemap generator, in a fashion compatible with what you configured in Cherokee.
And voilà! You have a WordPress installation working flawlessly with Cherokee.
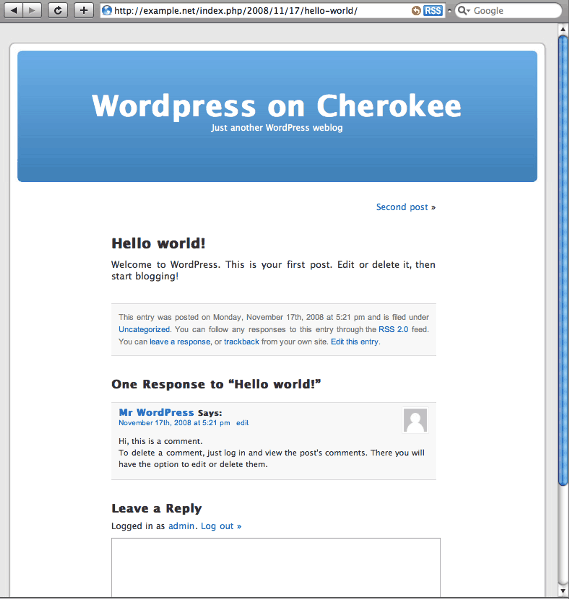
WordPress in action