mosConfig_[a-zA-Z_]{1,21}(=|\%3D)
base64_encode.*\(.*\)
(\<|%3C).*script.*(\>|%3E)
GLOBALS(=|\[|\%[0-9A-Z]{0,2})
_REQUEST(=|\[|\%[0-9A-Z]{0,2})
Documentation
Cookbook: Setting up Joomla
Setting up Joomla with Cherokee is really easy. Joomla is offered through the Cherokee Market and can be automatically installed as a new dedicated Virtual Server, or to set it up inside a Directory.
This recipe contains sections detailing how to: . Configure Cherokee for either installation mode using the Market. . Install Joomla v1.5.14 which is the last one available at the time of writing. . Configure Cherokee manually.
Configure Cherokee using the Market
The easiest way is to look for the application in the Market and follow the point and click interface.
However, these are the steps for those wanting to install it manually.
Configuring Cherokee manually
The Market can handle both series of Joomla, 1.5.x and 1.6.x. This manual process was documented for 1.5.x and might not work for 1.6.x.
You will need PHP support correctly configured in Cherokee, and PHP with the MySQL module installed. For this you will require php-cgi installed on your system, and to run the PHP wizard, so in case it is not configured yet you an follow the appropriate recipe about setting up PHP. You will also need an FTP server if the Joomla files are owned by a user other than the one running the web server.
Under these conditions, you could start Joomla’s installation and you would already be able to have your site up and running.
However, we can add several refinements. In this recipe we will be dedicating a virtual server entirely to Joomla, so either create a new one or adjust default accordingly. Of course, you can also set it up under a directory in an existing virtual server, but we will take the first approach for clarity and simplicity.
For our purposes, we will make the modifications in our default virtual server. This will only affect the URLs we’ll be accessing to log in to Joomla. First download and uncompress the distributed Joomla release into /var/www/joomla, and set that path as the Document Root in your virtual host’s Basics tab.
We will also be making changes in the Error Handler tab, selecting the Custom redirections option and adding an option to send errors to Joomla.
| Error | URL |
|---|---|
403 Forbidden |
/index.php |
404 Not Found |
/index.php |
Finally, set up the rewrite rules recommended by Joomla to block out the most common type of exploit attempts. To do so, simply create Regular Expression rules for the following expressions:
Each should be managed by a handler that returns an error:
| Handler | Error |
|---|---|
HTTP error |
403 Forbidden |
After this you are done! Remember that all these settings are refinements not really needed by Joomla to perform its basic functions.
Installing Joomla
Both Cheroee and the system have to be prepared for Joomla to be installed. The database issue can be taken care of with the following steps. Log in to MySQL:
mysql -u root -p
And create the database for Joomla. We will be using the name joomla, the user joomlauser and the password joomlapassword, but you should set up your own.
CREATE DATABASE joomla;
GRANT ALL PRIVILEGES ON joomla.* TO joomlauser@localhost IDENTIFIED BY 'joomlapassword';
GRANT ALL PRIVILEGES ON joomla.* TO [email protected] IDENTIFIED BY 'joomlapassword';
FLUSH PRIVILEGES;
quit;
Then point your web browser to http://localhost/joomla and follow the instructions provided by the Joomla installer.
There is not much else you must do for Cherokee to work with Joomla. If you follow the Joomla installer’s instructions -providing valid database information in most cases will suffice-, you will go thorough every step swiftly. Once you are done you will have to eliminate the installation subdirectory, as Joomla does not allow going any further until you do so as a security precaution. It is also a good idea to make the cache directory world writable.
rm -rf /var/www/joomla/installation
chmod 777 /var/www/joomla/cache
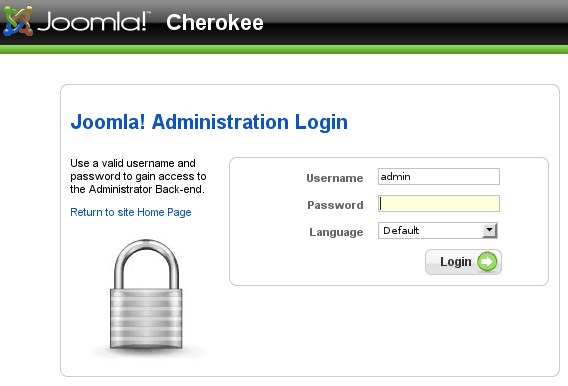
Now to set up Joomla. Visit http://localhost/administration and log in. Go to the Global Configuration option and enable all the SEO Settings, including the ones for Apache mod_rewrite.
Mission accomplished!