mkdir ~/demo
cd ~/demo
symfony generate:project demo
symfony generate:app demo
symfony generate:module demo demo
Documentation
Cookbook: Setting up Symfony Framework
If you need to deploy a Symfony application with Cherokee, the configuration is trivial. You will find a Wizard that can be used both to deploy the application under a dedicated Virtual Server and under a web folder from one already existent.
Prepare your Symfony project
The Symfony Framework is a PHP framework focused on building more secure, reliable, and modern Web 2.0 applications.
It is essential that Cherokee supports PHP before starting with this recipe. That should not be a problem since Cherokee-Admin provides a PHP configuration Wizard. However, you can follow the setting up PHP recipe for further hints on fine tuning this feature.
To make sure the recipe works, we’ll initialize a simple symfony application.
This assumes that you already have symfony installed and configured. You can find information about installation here: Symfony Installation. At the time of writing, symfony stable version is 1.2.
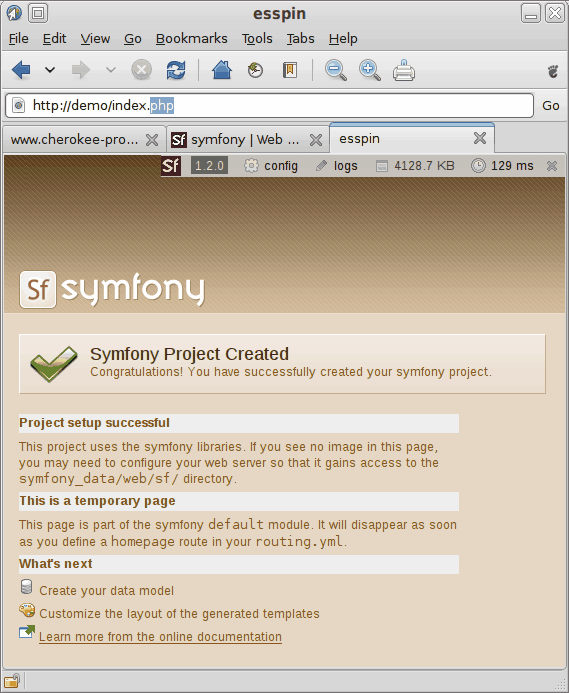
Now that you have symfony installed, we shall create a symfony application in the folder ~/demo
Open a terminal, and execute the following commands (note that if symfony is not in your $PATH, you need to prefix symfony with the actual path to the script):
The above commands will create a symfony project called demo inside the demo folder we just created. Next, it will create an application called demo as well, and then create a module, also called demo.
So now that we have the files in place, we’ll just create the needed rules for the web server. Specially important will be the rewrite rules.
Configure Cherokee using the Wizard
Launch cherokee-admin, and proceed to the Virtual servers section and either enter the chosen one to install under a web folder, or directly click on the Symfony Wizard to create a customised one.
In either case you will be asked for the basic information and everything will be handled for you. The two main data pieces will be the location of the public web folder of your Symfony project (that is, the part that you wish to make publicly accessible, not the whole project), and the path to the installed release of Symfony in your system.
There is nothing else you need to do on Cherokee.
You may need to edit your "hosts" file to include the domain name you call the virtual server. Your symfony application should then be accessible. You can find more information about setting up symfony applications in the symfony manual.
Running application
Note that the Wizard configures Cherokee for your project’s production frontend. Should you wish to access the development environment simply adjust the redirection to the appropriate frontend.
Configure Cherokee manually
In case you are wondering, these are manual steps you would have to follow if you opted for not using the configuration Wizard.
Select or create the virtual server that you will be configuring and go to the Behavior tab to set up the rules. Remember that the document root for this virtual server should be the web folder in your demo project.
Steps
-
You will need to keep the rule for the php extension. If this rule is not present, create it as described in setting up PHP.
-
Next, configure a rule with the handler File Exists that should be set to a priority lower than that of the php rule. This one can be set to match whatever files you like, but the important thing is to check the Match any file checkbox. Let this rule be handled by the Static Content handler.
-
Afterwards, modify your Default rule by configuring the redirection handler, through the Handler tab.
Type Regular Expression Substitution Internal
^.*$
/index.php
-
Symfony includes two controllers. One of them is "index.php". The redirection above only makes the "index.php" controller accessible. If you are actively developing the web application, you may wish to have access to the symfony debug toolbar. In this case, replace "/index.php" substitution with "appname_dev.php" where appname is the name of the symfony application you are setting up. In this example, our application name is "demo" so this controller will be called "demo_dev.php".
-
A slight addition must be added to fix an issue with how requests for the root are managed when there is a rule with the File exists handler in place. If this is not put in place, you will receive 403 errors. Simply define yet another redirection rule for this regular expression:
Type Regular Expression Redirection Internal
^/$
/index.php
-
Finally, you need to set up a rule for the "/sf" directory.
Type Web Directory Handler Document Root Directory
/sf
Static content
/usr/share/php/data/symfony/web/sf
Note that the document root for the /sf directory depends on your installation. The value given above corresponds to a pear installation of symfony on an Ubuntu 8.10 (Intrepid Ibex) system.