ScriptAlias /cgi-bin/nagios3 /usr/lib/cgi-bin/nagios3
ScriptAlias /nagios3/cgi-bin /usr/lib/cgi-bin/nagios3
Alias /nagios3 /usr/share/nagios3/htdocs
Documentation
Cookbook: Setting up Nagios
Nagios is a host, service and network monitoring program. It is very extended and can be up and running in 15 minutes just by following the Quickstart Guide. Though it is well documented and is easy to follow, it is intended for an Apache audience.
After following the quickstart instructions, getting Nagios it to work with Cherokee is really simple.
Trivial set up: Cherokee as proxy
The most elemental set up is one that assumes that a Nagios installation runs on another box and that Cherokee simply sits as a reverse proxy between the Nagios-instance and the world.
In such a set up, we would have Nagios running in its own box with Apache2, as detailed by their quick installation guide. The only relevant parts of the apache-configuration are the ones defining the actual paths. In our case:
The only needed configuration on the box running Cherokee would be setting up a rule that matched the above listed paths, and proxied the request to the server running Nagios.
As you can see, this is trivial to do. Assuming the Cherokee server was 10.0.0.10 and the Nagios box was 10.0.0.11, we would have to follow these steps:
-
First, define an information source with the parameters of the Nagios box.
Nick Type Host Nagios
External
10.0.0.11:80
-
Then, create the set of rules that match the following list of paths:
-
/cgi-bin/nagios3
-
/nagios3/cgi-bin
-
/nagios3
-
This, in turn, can be done easily. For compactness sake, we will just use one but you could define a separate one if you need more precise matching. The mechanism is exactly the same:
-
Within the Behavior tab of your virtual server, choose "Regular Expression" as type of the new rule, and use the expression .*nagios3.* for it.
-
In the Handler section, select the HTTP reverse proxy and assign the information source previously defined.
Now, whenever a request to 10.0.0.10 contains the nagios3 substring, it will be proxied to 10.0.0.11.
Advanced set up: Cherokee as host
This is and advanced method only namely. In reality, it is exactly as simple.
In this case, the relevant information from the configuration file is limited to a couple of snippets:
ScriptAlias /nagios/cgi-bin "/usr/local/nagios/sbin"
AuthUserFile /usr/local/nagios/etc/htpasswd.users
and
Alias /nagios "/usr/local/nagios/share"
AuthUserFile /usr/local/nagios/etc/htpasswd.users
Please note the above paths are the ones used in the Nagios Quickstart guide. The paths are bound to change if you used any prepackaged release.
We will translate these directly into a pair of directory-type rules.
The first one will match the /nagios/cgi-bin directory, and will be handled by the CGI handler. We will map the /usr/local/nagios/sbin as the Web Directory for the rule, in the Rule tab.
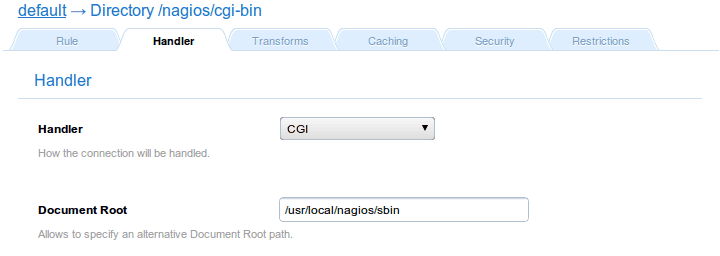
First rule
| Field | Value |
|---|---|
Handler |
CGI |
Document root |
/usr/local/nagios/sbin |
The second one will do something similar, only mapping /nagios to /usr/local/nagios/share.
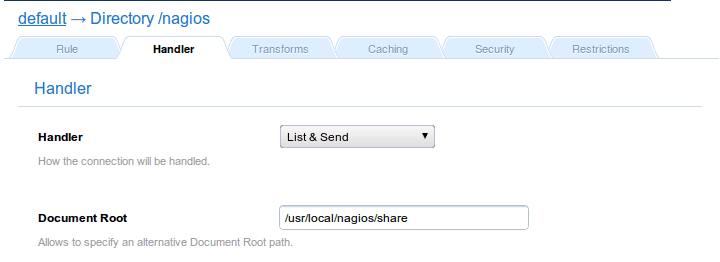
Second rule
| Field | Value |
|---|---|
Handler |
List & Send |
Document root |
/usr/local/nagios/share |
Finally, you can set up the authentication mechanism on both rules by configuring the ‘Security` tab. Choose the Htpasswd file validation mechanism, write the correct Password File (the one you should have created during Nagios’ installation), and input the mandatory realm string, Nagios for instance. Note that this step is optional, since you can secure your application with any other validation mechanism provided by Cherokee.
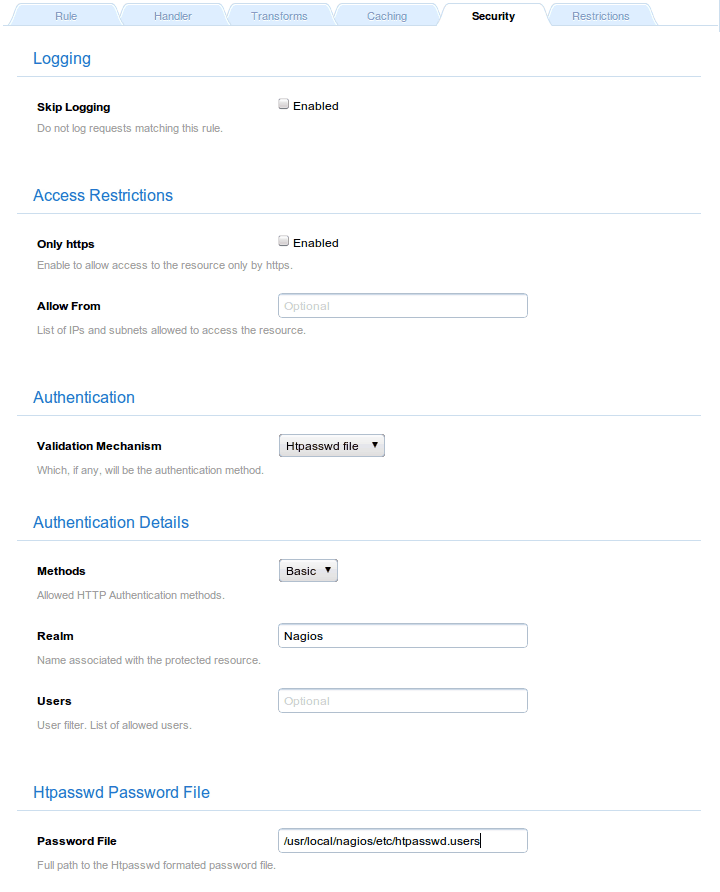
Security configuration
And that was all for today.
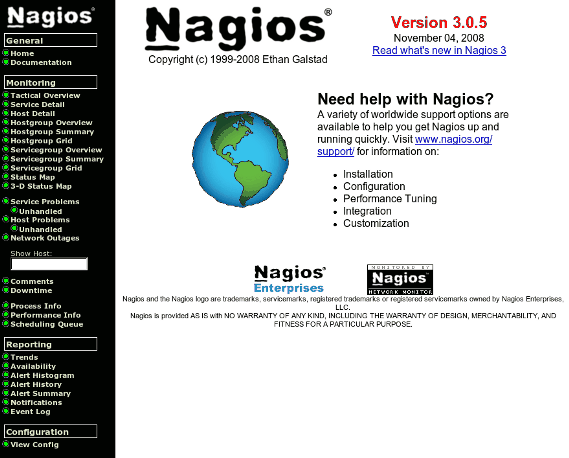
Nagios in action